

A Beginner’s Guide to Gel Nail Stickers
Introduction
Salon-perfect nails without the salon? Yes, it’s possible. Gel nail stickers are one of the easiest and most beginner-friendly ways to get flawless, long-lasting manicures at home. No mess, no fuss, no toxic fumes. If you’ve been curious about *semi-cured gel nail stickers*, this guide will walk you through everything you need to know—from what they are, to how to apply and remove them, to which EyeCandys designs are perfect for first-timers.
What Are Gel Nail Stickers?
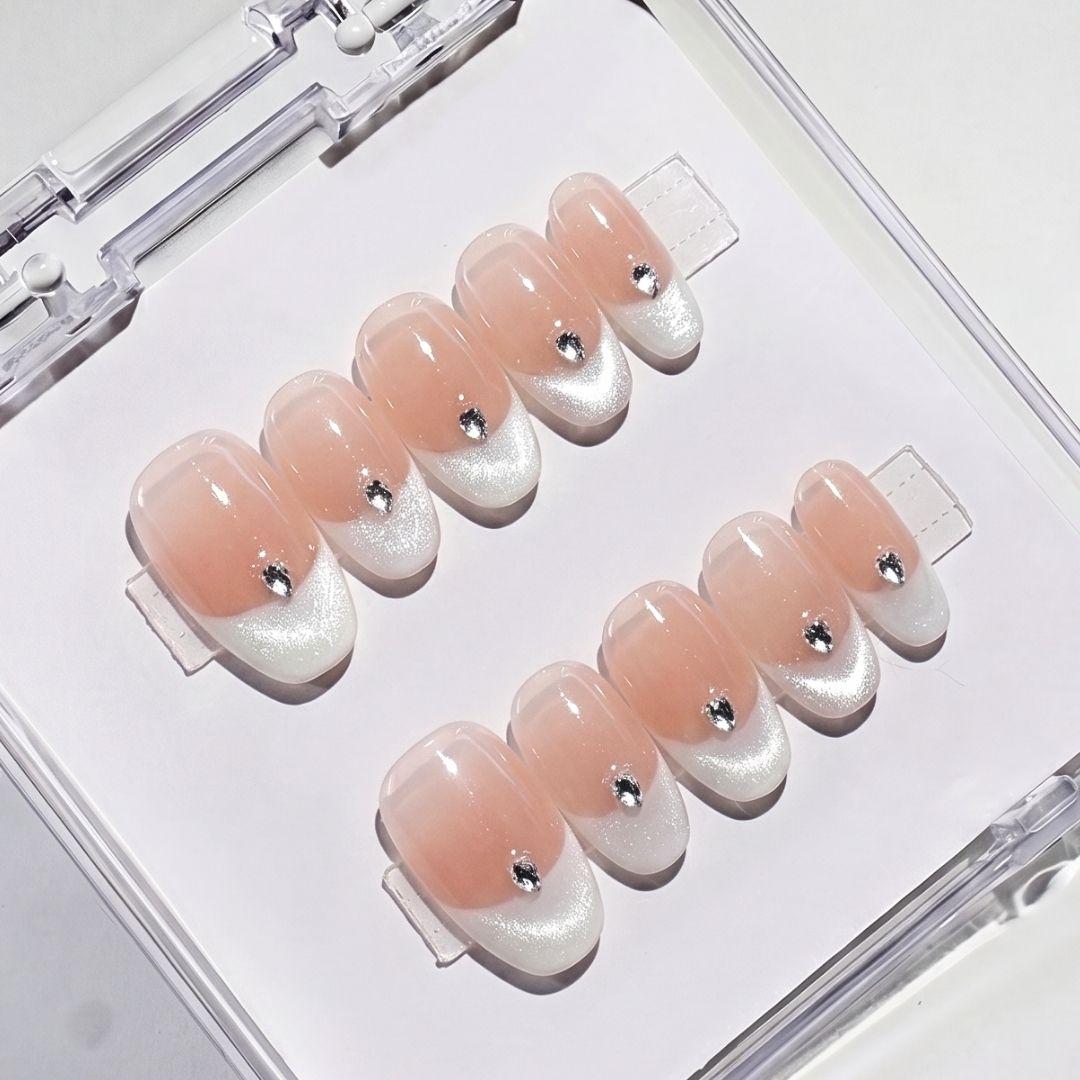
Gel nail stickers are pre-shaped nail wraps made of semi-cured gel polish. Unlike nail polish or press-on nails, they’re flexible and adhere directly to your nail bed, then harden when cured under a UV/LED light (or natural sunlight with UV Index 3+).
EyeCandys Gel Nail Stickers are made with a 7-Free, vegan, cruelty-free formula that’s safe for beginners and those with sensitive skin. They’re easy to apply, last up to 2 weeks, and come in an ever-changing range of trendy designs—from subtle nudes to sparkly chromes.
Why Beginners Love Them
Whether you're new to doing your nails or just tired of expensive salon visits, gel nail stickers are a dream for:
- Zero mess: No polish spills or drying time.
- Beginner-friendly application: Just press, file, cure, done.
- Long-lasting results:Stays put for 10–14 days.
- Damage-free removal: No acetone required.
They’re also a great solution for people with acrylate sensitivity or gel nail allergies. Traditional gel polish can trigger reactions, but EyeCandys’ stickers don’t require soaking or buffing and can be removed gently with oil.
How to Apply Gel Nail Stickers
Follow this foolproof 6-step guide to get your first at-home mani right:
1. Prep your nails:Use an alcohol pad to remove oils and moisture.
2. Choose your size: Pick the sticker that fits your nail best. Trim if needed.
3. Apply carefully:Align with your cuticle and press down firmly. Avoid touching skin.
4. File excess: Use downward strokes to remove any overhang.
5. Cure:Use a UV/LED lamp for 60 seconds or place hands in sunlight for 5–10 mins.
6. Optional glaze: Apply EyeCandys Top Glaze for a salon-thick finish and extra durability.
Removal Is Just as Easy
Forget soaking your hands in acetone or scraping off polish. When it’s time to remove your stickers:
- Apply cuticle oil generously around the nail.
- Use a wooden stick to gently lift from the edge.
- Let oil seep underneath the sticker as you peel.
That’s it—no damage, no pain, and no harsh chemicals. Just clean, healthy nails ready for your next set.
Pro Tips for First-Timers
- Don’t over-cure:60 seconds is all you need.
- Keep cuticles tidy: Clean edges = better seal.
- Avoid water for 2 hours: Helps lock in adhesion.
- Use daily cuticle oil: Extends sticker wear.
- Store extras well: Keep unused stickers in a resealable pouch away from sunlight.
Best Beginner-Friendly Styles to Try
Start with foolproof designs that look great on any nail length or shape:
- Nude French tips – minimalist and versatile
- Sheer pastels– perfect for spring or first-time manis
- Chrome accents – trendy, easy to wear
- Short nail fits – ideal if you’re growing out nails or biting-prone
EyeCandys offers limited-edition collections every season, so you’ll always have something new to try.
Conclusion
Ready to upgrade your nail game without booking an appointment? Gel nail stickers are the easiest way to achieve a flawless manicure at home—no prior experience required.
With EyeCandys’beginner-friendly, salon-worthy options, you’ll wonder why you didn’t start sooner. Bonus: Buy any 3 sets and get a free UV lamp+ Top Glaze, making your first set even more effortless.